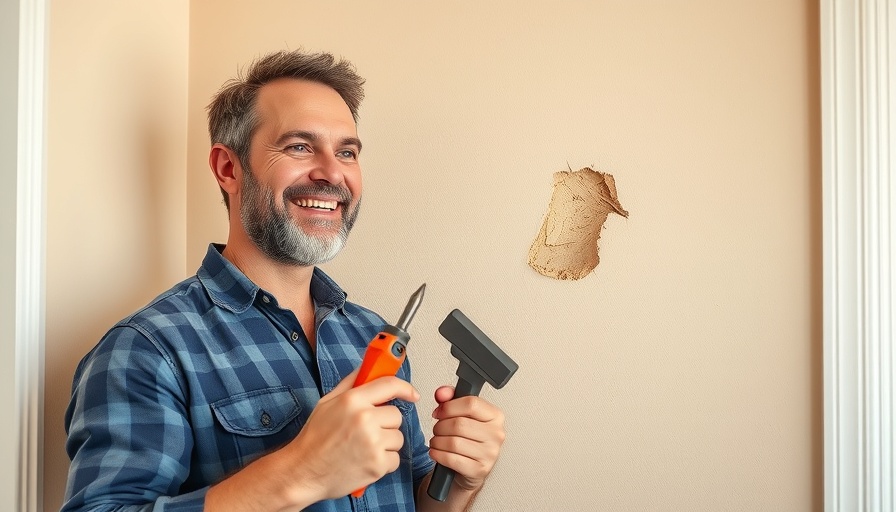
Mastering Drywall Repair: A Comprehensive Guide for Homeowners
Drywall repair might seem daunting, but with the right techniques and tools, even the most amateur DIY enthusiasts can tackle holes of any size—whether they're the result of a doorknob accident or kids playing indoors. In this article, we’ll explore practical strategies for fixing drywall holes efficiently, ensuring your home looks pristine again.
Understanding Your Drywall Repair Kit
Every homeowner serious about DIY home repairs should have a well-stocked drywall repair kit. Essential items include 45-minute hot mud compound, a mixing knife, drywall tape, and drywall clips for larger holes. The hot mud compound hardens quicker than traditional options, allows for faster drying times, and minimizes shrinkage, making it ideal for all kinds of repairs.
Step-by-Step Process for Fixing Small Holes
For small holes, start by preparing the area. Clean around the damage to ensure optimal adhesion. You want to create a clean, rectangular cut around the hole to accommodate your repair tape. Use the hot mud compound generously to fill in the hole before placing your tape. Press down firmly, let it dry, and then apply a final coat to blend it seamlessly into the wall. This technique not only repairs the hole but enhances your wall’s overall sturdiness.
Repairing Medium-Sized Holes: The Right Approach
Medium holes require a more detailed approach. Start by cutting around the damaged section until you reach solid drywall. Ensure the new drywall piece is cut to fit snugly. Use drywall clips for support, applying the hot mud generously around the edges. This creates a strong bond and prevents sagging. The same taping principles apply, but ensure your new piece seamlessly integrates into the existing wall by feathering out the mud.
Addressing Large Holes: Tips from the Pros
Large holes can be intimidating, but with drywall repair clips, they become manageable projects. Create a new, larger hole that matches the dimensions of your repair panel. Then, attach the drywall clips inside the hole, ensuring they’re secured. Fit your patch snugly, coat with hot mud, and feather out the edges for a smooth transition. Patience is key in these cases; let each layer dry completely before moving on to the next.
Common Misconceptions in DIY Drywall Repair
Many homeowners believe that repairing drywall requires professional skills or tools, which isn’t the case. Others fear that their efforts will lead to an uneven finish or a noticeable patch. However, with proper techniques and materials, anyone can achieve a flawless look. Remember: less is more in drywall application, and allowing ample time for drying can transform a mediocre job into a professional-looking finish.
We emphasize practical approaches to drywall repair, exploring key insights that spark a deeper understanding of the process. With a little practice and dedication, homeowners in the Hampton Roads area can rotate through these techniques with confidence.
DIY projects can be very rewarding; however, if you have bitten off more than you can chew on one, or prefer a pro, do contact us for recommendations in the greater Hampton Roads area.
 Add Row
  Add
Add 


Write A Comment